Spring is almost here. Well, in our part of the world, February is always dry and dusty and then followed by seasonal flu season. I hope you all stay healthy!
Last week, we at the Desi Quilters group on Facebook started Quilting Bee. It's been years since we did the quilting bee. There are 24 participants divided into two groups - Oddbees and Evenbees. I am the first queen bee for the Oddbees group. When Tina announced at the beginning of February that we are going to have a quilting bee again, I am very excited. I mean, this is the way you can learn and in the meantime get your blocks done in no time, right?
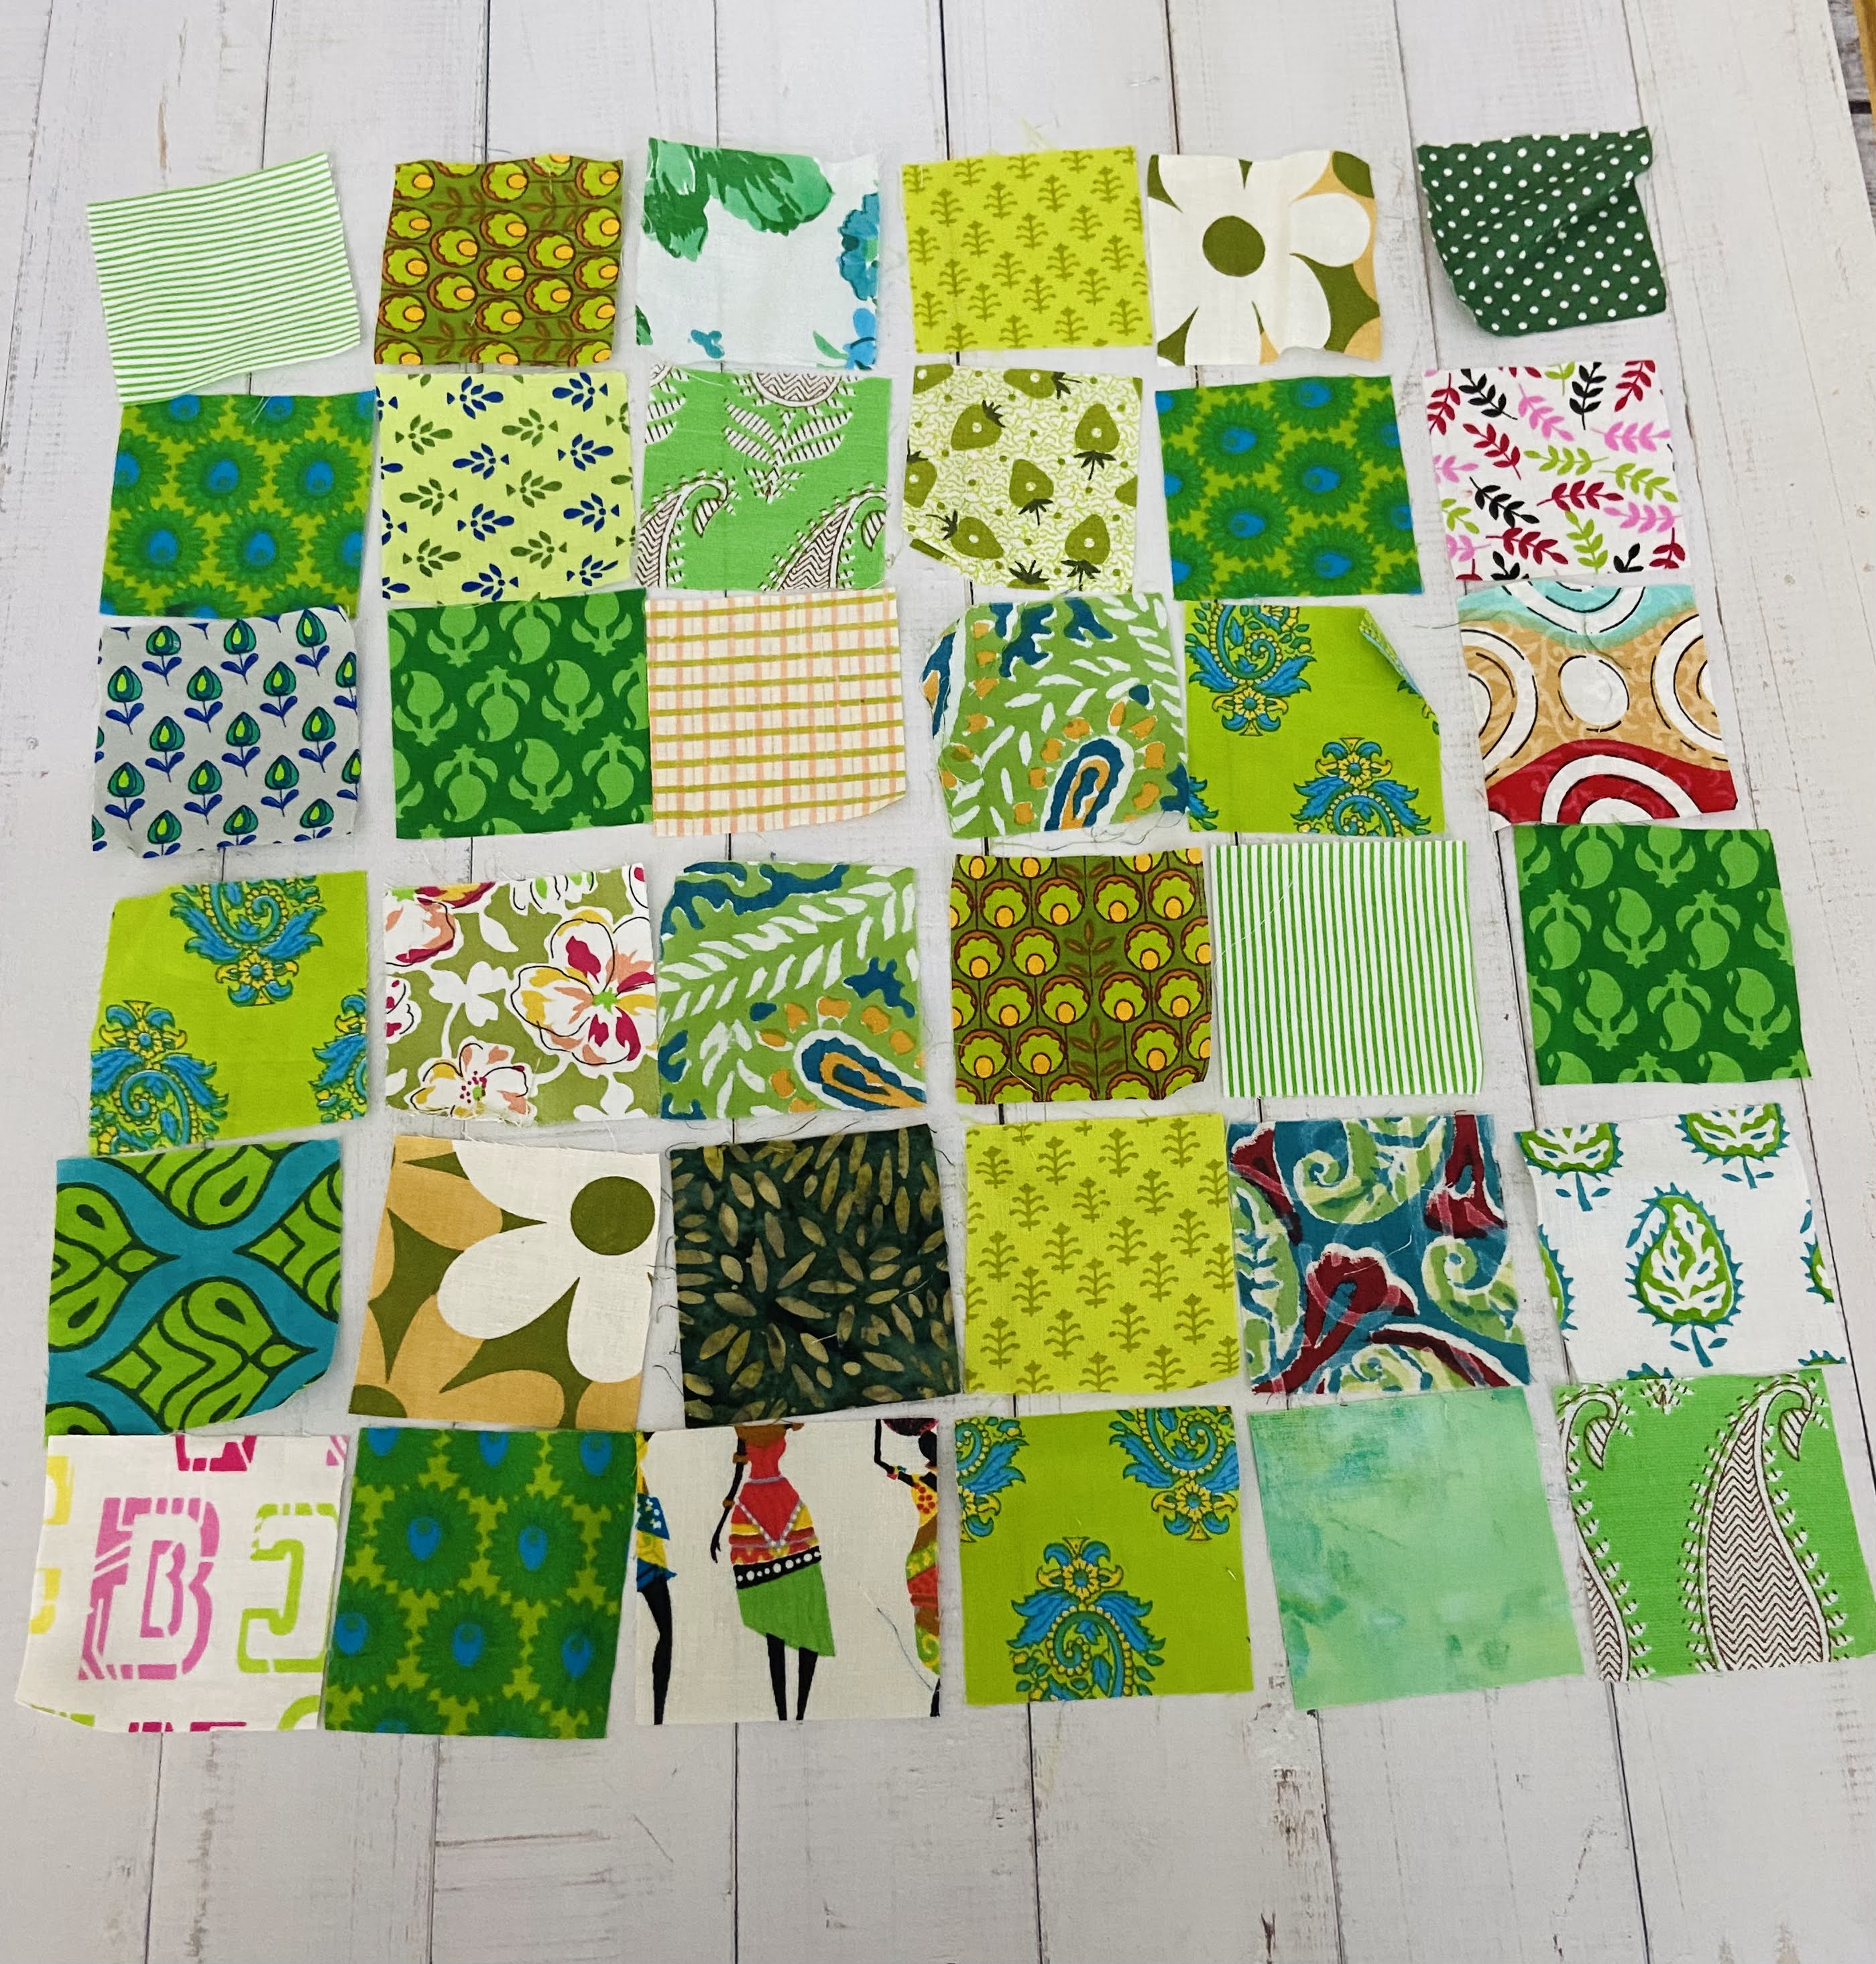
I know I wanted to make a 36-patch block made up of mini charms in different colors. It's been high on my list. So for the 1st bee block, I go with this simple block! I made a 36-patch quilt a long ago and it's still my fave.
This block is very easy and my block finished at 12" square. The fabrics I used are assortments of cotton fabric scraps that I previously cut and keep.
So for this particular 36-patch bee block, I want one block in ONE color shade, and the scrappier the better.
It's super easy to make. All you need is 36 pieces of assorted 2.5" square pieces of fabric.
1. First step is to arrange the fabric pieces to your liking, alternating between light and medium/dark. Although it's not always easy, that's fine!
2. I like to make them into a 9-patch section. Sew them together with a 1/4" seam allowance and press the seam to the darker side.
3. After finishing 4 mini blocks of 9-patch, iron the blocks. I am using assorted fabrics, some fabrics get a bit stretched after ironing. That's fine for me.
4. Now, trim the blocks to 6.25" square.
5. Sew the 4 blocks together and voila you get a 12" square block.
I made 2 blocks as samples for the quilting bee and I am so excited to see everyone's block. We have 14 quilters in the odd bees group. And guess what? I already got one in the mail yesterday. Priya sent me her pretty pink block along with lovely gifts!! Thank you, Priya!!
There are several blocks already posted in the group and I am so looking forward to receiving them. I will update again when I receive all the blocks!
My December started with a lot of blessings. First, Tina Katwal came to my city and she visited me! I was so excited when she told me a few weeks ago. Finally, I get to meet the leader in our Desi Quilters (the biggest Quilt Guild in India). We've known each other for almost a decade on Facebook. She's an accomplished quilter and entrepreneur. Her studio, the Square Inch in Chennai is literally our go-to shop for anything related to quilting or sewing! Online and Offline. It was really an honor to meet her and hopefully, I can visit her in the near future.
We talked about quilts and more quilts and a lot of plans for the Desi Quilters activities. I really admire her passion to take Indian Quilter society to the next level, from managing the group to organizing the India Quilt Festival. The first Quilt Festival in India and also showcasing Indian Quilts in several cities in India. Kudos to her! Do check out her Facebook Page or visit her Website to see more.
The second thing is I woke up to an email from Etsy that I'm a star seller for the month of December. Wow, I really did not expect this! There are a lot of opinions when Etsy first launch the star seller badge and honestly, I still have a mixed feeling about it. Especially as a handmade seller who creates the product from scratch by myself. It's really a nice surprise and a good feeling as the badge is a validation and recognition of your hard work and services. Thank you for all your supports! I would not be able to achieve it without your love and supports!
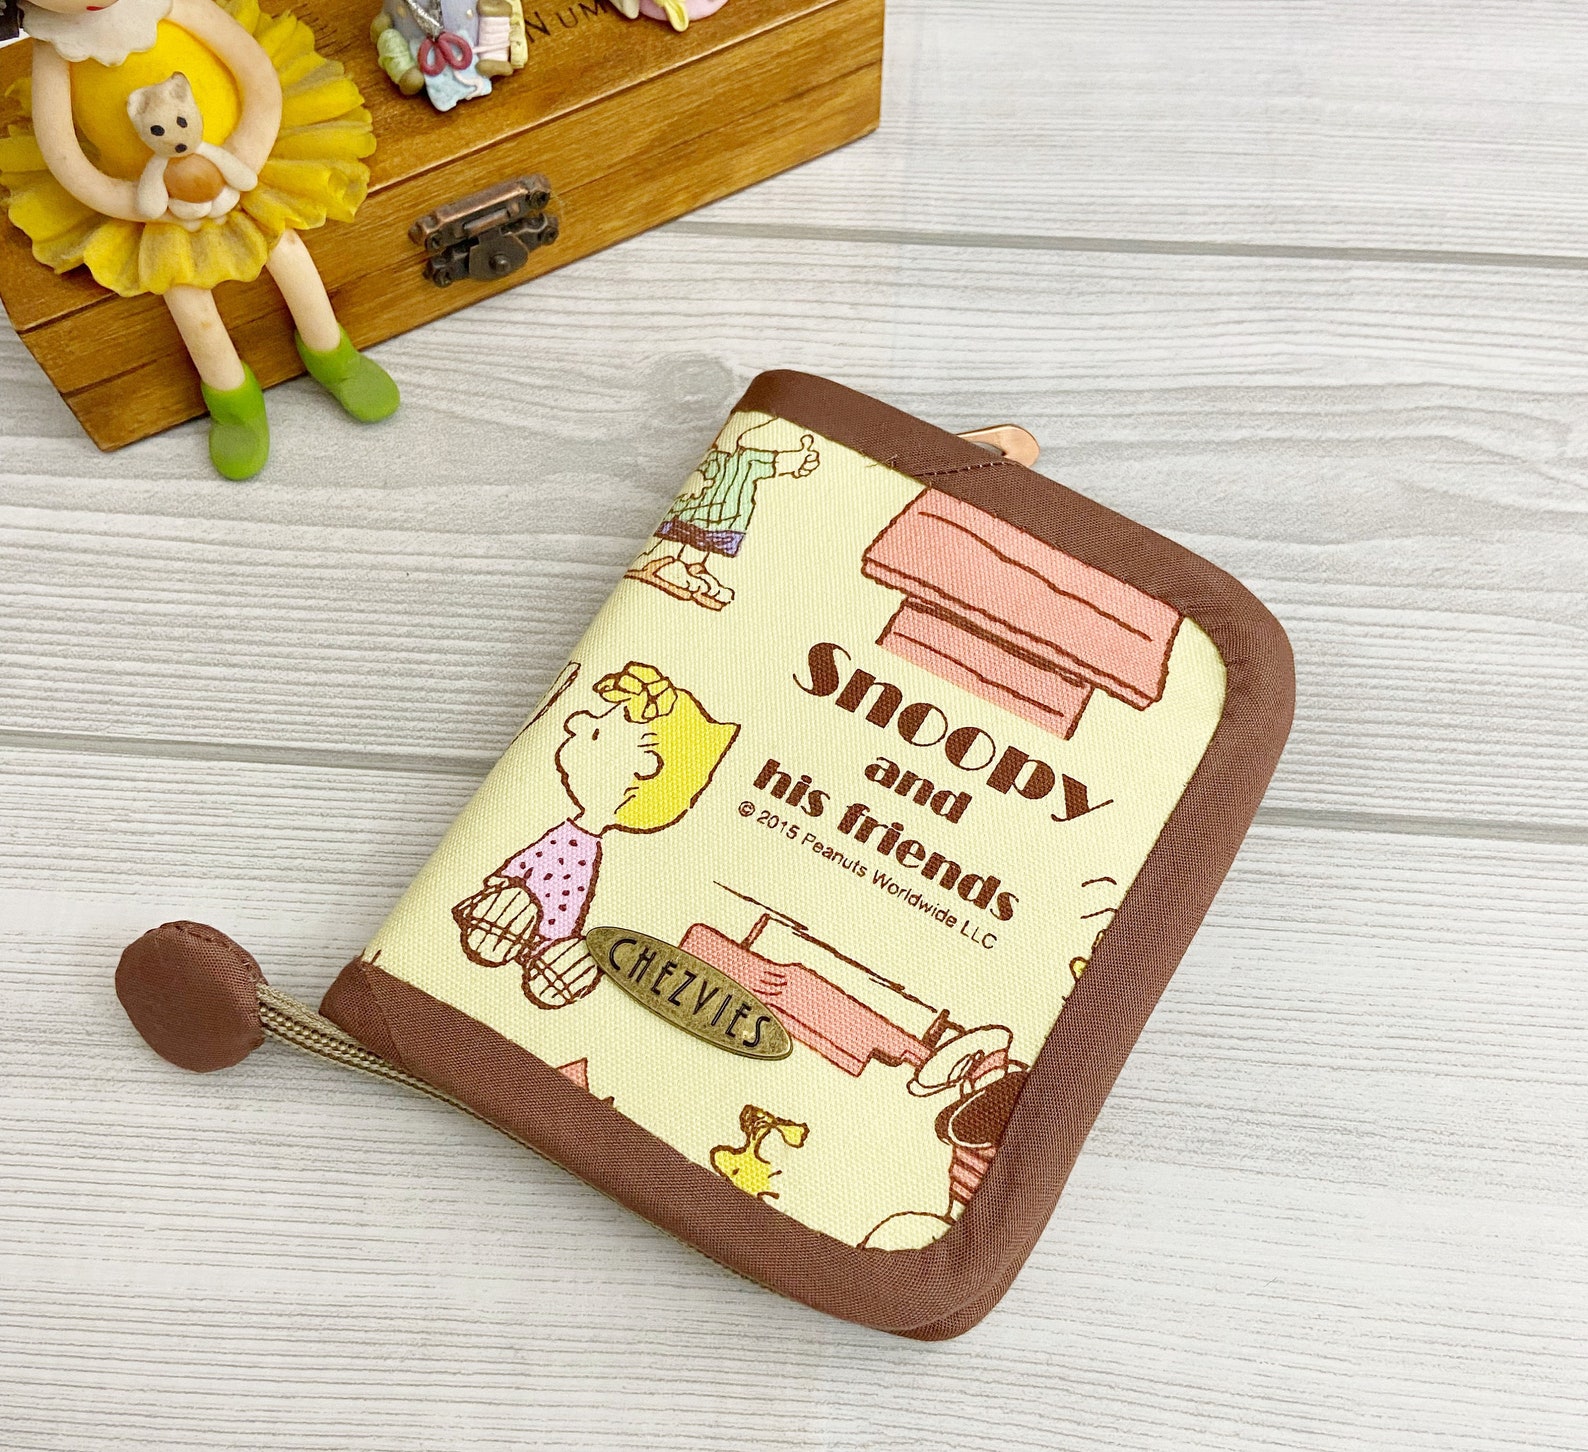
Sewing wise, in the last couple of days, I finished quite a few wallets, for orders and stock. This family passport wallet in world map print is pretty popular and from these two wallets, only one is available now in the shop now. I still have a little bit of map print fabrics, but I think I'm going to make a new family passport wallet for myself. We need a new one anyway!
I love this linen floral print wallet so much and I am using one myself. It's also available in Blue with the same beige combination. Nowadays I made more zipper closure wallets and I love it too. Especially I love using a single tape zipper. You can check the tutorial HERE (for the family passport wallet) or HERE for the mall wallet.
I am still following the time blocking plan and frankly, it makes me more focused and relaxed, especially with a lot of things are going on right now. I still have a basket full of WIPS but I am working on it slowly, as time permits. With the combination of time blocking and batching, I am sure we can be more productive.
Hello, I hope everyone is doing fine. It's the end of October already. The past few weeks, I have not done much sewing, cos my spondylitis is giving me trouble again. The therapist told me to stop working for a couple of weeks and exercise more regularly. The latter I'm still struggling with. Ha!
But I managed to finish the potholders swap for our Desi Quilters Pot of Gratitude Swap. It's now received with so much love. Thank you, partner!! Well, working with the mood board assigned to you is pretty challenging. I was assigned this cool mood board by Kuppulakhsmi.
It took me a couple of days to think about what would be the best fit. I browse Pinterest and Instagram and even made a couple of blocks that I thought would work out, but it was not. So I add those blocks to my PHD bin. I decided to make mini granny square blocks, using 1.5" squares and the color palette in the photos. Well, some shades and added green to brighten it. I found the blue bird print in my stash that is perfect for backing.
And I also got my swap package from Preetha. When she posted the pineapple potholders in the group, I sort of know it's for me but I was not sure. So I'm very happy when they arrived with all the other goodies she sent. The color thread cones are fantastic. I've been searching for one but did not find it in my regular shop. And don't miss the pretty keyring, my initial!! The potholders are so cute that I put them up in my sewing room now. I don't have the heart to use them. Thank you so much Preetha for the thoughtful gifts! She told me the lady who made the beautiful keyring is battling cancer. If you happen to read up to this part, please send a prayer to her.
As I said, making these potholders is pretty challenging. Besides we have to make according to the mood board, we also learn to make a small block that fits the idea. You can choose, either color or shape from the mood board or a mix of those. I was thinking of different ideas, including making flower appliques, but decided to make a simple one, a granny square block, but using smaller pieces so that I can fit in more colors. Now that reminds me of my UFO Granny Square quilt.
I have a mountain of scraps in buckets and bags all around the house. Somehow I just don't have the heart to throw them away. Whenever I see my fabric scraps I feel inspired and full of ideas, but then those ideas remain on my "bucket list".
A few weeks ago, Tina and I discussed the next swap, after the successful swap we has last month in Desi Quilters. This time she has with the idea of exchanging Potholders and as usual, she came up with the most suitable name "pot of gratitude". This is to remind us to always be grateful during this Pandemic and by making a gift for our virtual friends who always be there to help in our crafting or quilting journey.
So, let me talk about potholders that I usually make.
1. Batting
The first question that people ask is always about what kind of batting to use for potholders. Well, we don't have thermal batting for retail here in India. I usually use double or triple layers of cotton batting. A few years ago before cotton batting was easily accessible, I use a few layers of cotton flannel (like THIS coaster). If you have scrap batting, you can use it even if it's narrow strips you can layer them.
2. Fabrics.
Store-bought potholders usually use thicker or canvas cotton. I normally use quilting cotton or poplin cotton. And if I use Indian fabrics (mulmul) I usually use nonwoven interfacing to give additional weight. On the back, you can use casement fabric or canvas if you have one.
3. Quilting.
You can either sandwich two layers of batting with top and backing and quilt them together or you can quilt the top and back separately like in THIS mug rug. I personally prefer the latter because it turned out thicker which is perfect for potholders. You can quilt the top with denser quilting lines but I'd suggest using less dense quilting lines for the backing.
4. Binding
For square or rectangle potholders, I'd suggest using a jellyroll strip. A 2.5" wide is a good one, but if you use thicker batting, you might want to use a 3" wide binding. I normally used 1.5" wide binding for small quilts, but since we're going to use the potholders a lot, thicker binding is always better.
The same applied to bias binding. In this pumpkin potholder video, I use scraps of about 11" x 17" fabric to make 2.5" wide binding which yields around 1.65 meters of binding strips. Enough to make 2 potholders.
I wrote about making bias binding in THIS POST using a square of fabric. You can make bias binding from fat eighth or fat quarter like in THIS VIDEO
- Embroidery can be added but avoid beads and sequins
- The edges must be finished with binding or facing.
- There must be a loop for hanging the potholders.
- Must be made according to your partner's mood board. Sonalee wrote how to create a mood board on her blog HERE.
In the videos below, I shared 2 projects that I made using fabric crumbs. Not really make a dent in my scrap bins but I am using only scraps here. So I'm pretty happy!
Last March-April, there was (mini) round robin swap in my facebook quilting group Desi Quilting.
My partner,Prabha, sent me this pretty star block in blue, green and yellow.
I'm not sure how I will extend the block. Since this is the first time I do this kind of swap, it made me quite nervous :P
Especially after seeing what others have done in the group.
At that time, then I remember one of Rita's (of RPQ) quilt. She made medallion with black and white. so why not trying using the black and white border, I thought. Afterall black and white is neutral colors, right?
but instead of pure white, I decided to use the polkadots and love how it turned out.
now on to the next one.
The deadline for submitting was nearing and I still could not decide what to to. A lot of "audition" going on

.heic)